If biofilm has been left to accumulate without any preventative action then it will likely require a shock treatment to remove large amounts of biofilm that is residing in the irrigation system.
Multi-step shock treatment
This is not a ‘plant friendly’ process.
Make sure all drippers are removed from pots and the product. The best time to perform this treatment is in between crop cycles when there are no plants growing.
- Using an acid-based detergent solution, fill all irrigation lines. Any acid such as hydrochloric, nitric, phosphoric, or sulfuric can work. Alternatively, acid-based cleaning products that contain surfactants add cleaning power. Using any acid, a pH of 3 is recommended for this process so as to solubilize lime scale and other mineral buildup. Always use properly registered products and refer to the label first for directions with any cleaning product.
- Let this solution set in the lines for 1-2 hours.
- Flush all lines fully with fresh water until clear water comes out of flush valves.
- Next add BioSafe Systems’ Sanidate® 12.0 (or 5.0) or another oxidizing agent. Follow label rates.*
- Let the solution sit in lines for a minimum of 3 hours, ideally 8-10 hours or overnight.
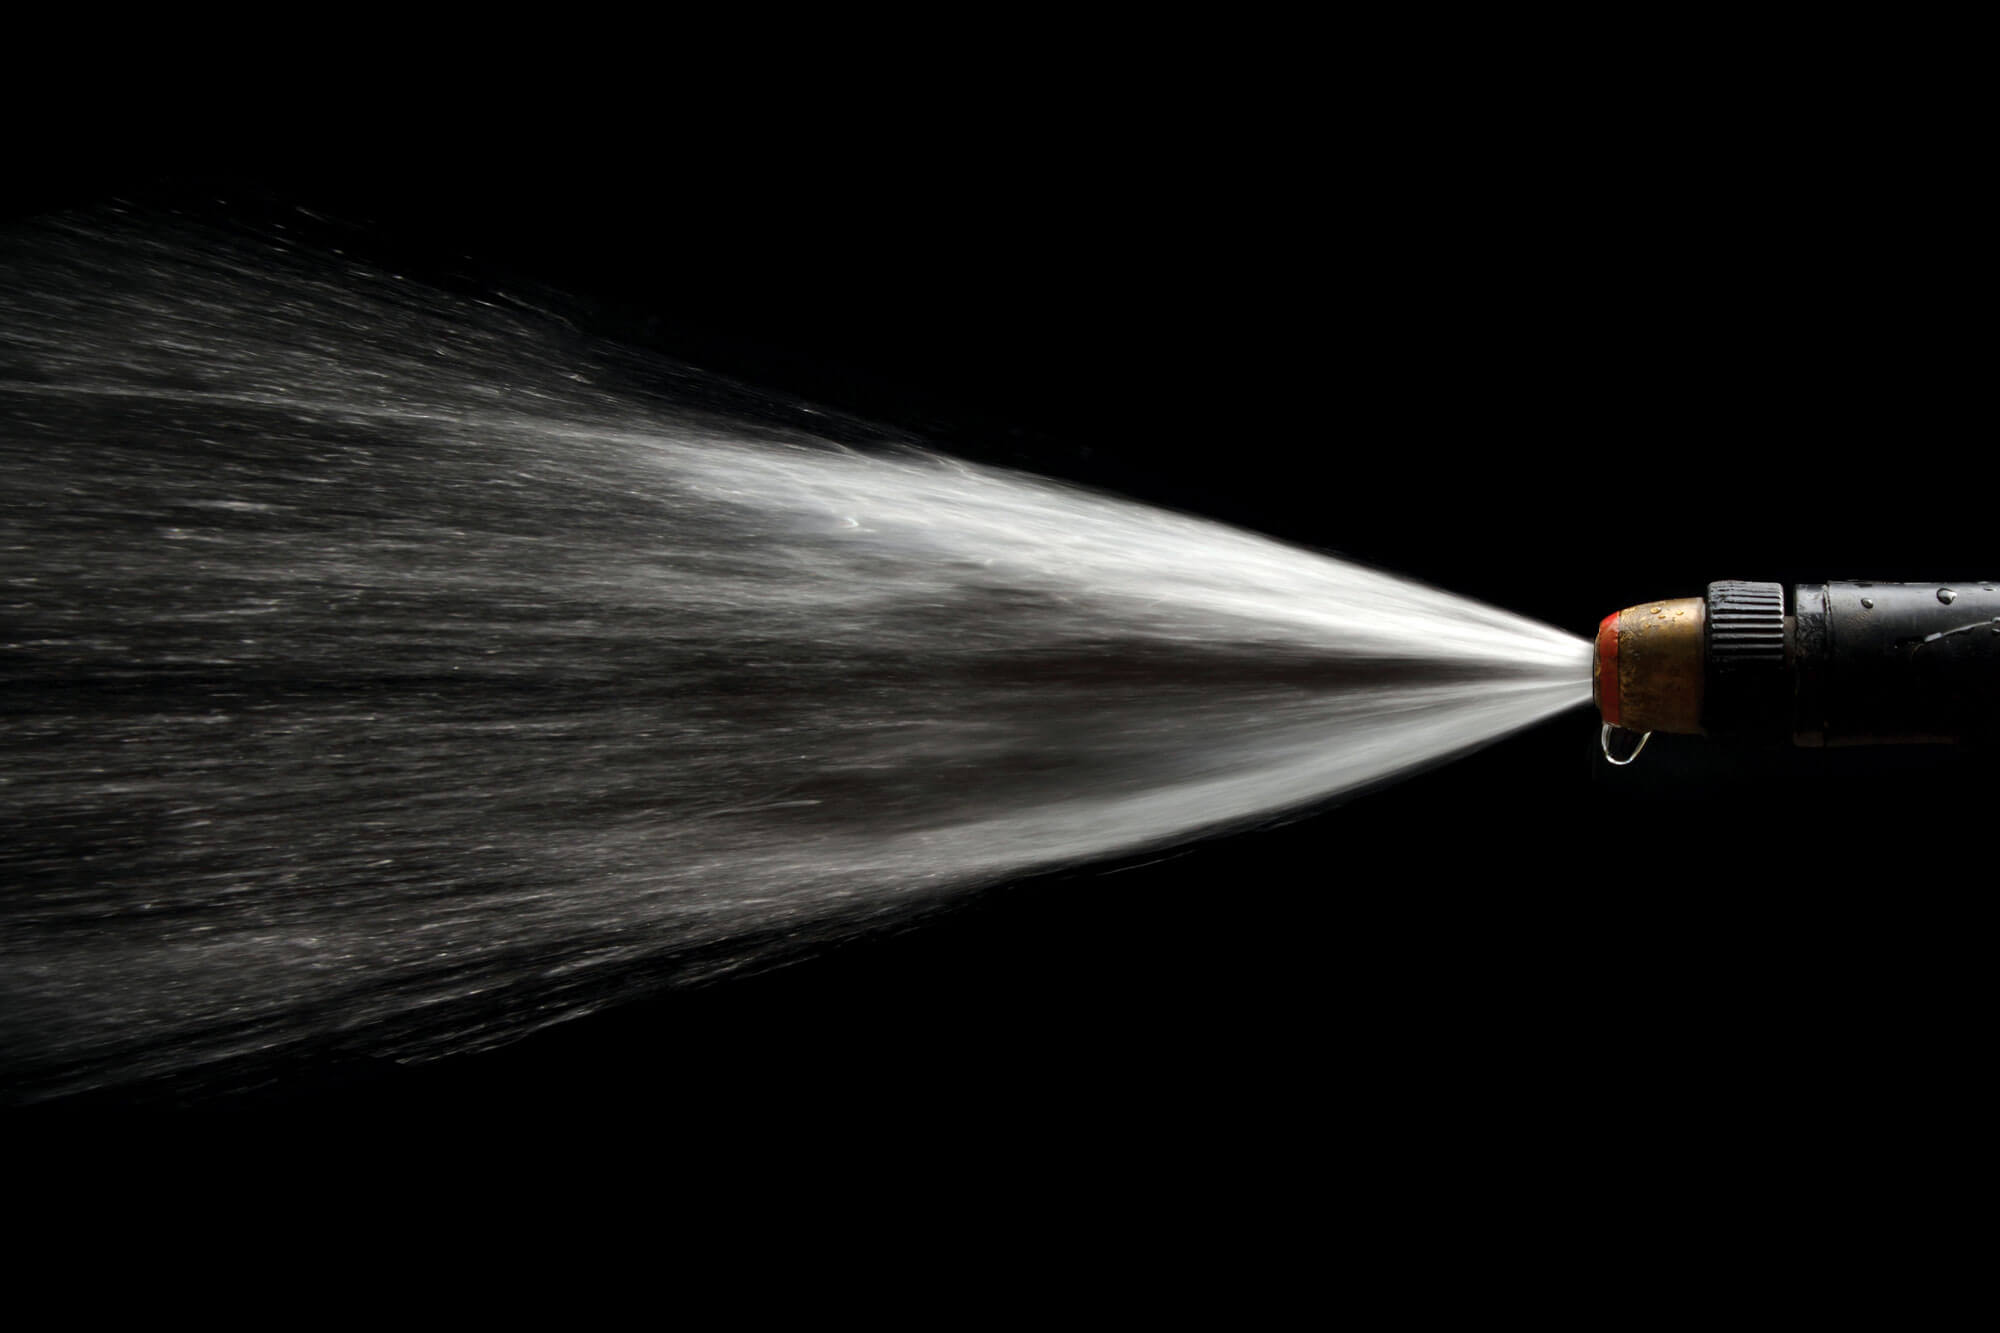
- Flush fresh water through until clear water comes through. Ensure that none of the biofilm is forced through emitters or filters. It is a good idea to remove filter inserts for this step, or use a bypass if there is one Reword this section properly.**
*Use proper personal protective equipment (PPE) when conducting any operation using these acidic or caustic materials. Always use recommended manufacturer instructions and directions. Be aware that some acids may corrode some soft metal irrigation parts.
**When flushing lines clear of debris always open flush valves that are attached to larger pipes first (See Figure 3).

Check system to ensure that the shock treatment was effective. If not you may need to repeat the process.
It is recommended to run through this procedure every time a crop production cycle is completed (generally speaking every 6-10 weeks).
Conclusions
Biofilm is inevitable and is unavoidable in irrigation systems, especially in those where fertilizer is being applied through the system. It begins to form inside a pipe within seconds. If it goes unchecked, biofilm will result in clogged filters and emitters, costly repairs, and crop damage from pathogens or undiscovered drought stress. As the saying goes, an ounce of prevention is worth a pound of cure. This is the case for biofilm, where an untreated system can quickly lead to clogs in the system and even crop loss.
The best way to manage biofilm is by utilizing all of the tools described in these articles. Starting with good irrigation design and proper fertilizer selection before the system is even set up. From there, consistent injection of appropriate sanitizing chemistries into the irrigation system as well as a defined maintenance plan is essential to any crop production facility.
Continue learning with Hawthorne ⟶